Roblox spawn scripts are fundamental for any game developer, influencing how players enter and re-enter your virtual worlds. Understanding their implementation, customization, and common troubleshooting can drastically improve player experience and game flow. This comprehensive guide delves into everything from basic spawn point creation to advanced scripting techniques, helping you optimize player placement, manage team spawns, and even introduce dynamic spawn mechanics. For US gamers who balance busy lives with their passion for gaming, mastering these scripts means less frustration and more enjoyable, seamless gameplay, whether they're building, exploring, or competing. We address common pain points like inconsistent spawns, setup complexities, and performance considerations, ensuring you get the most value out of your development time. Discover how to enhance your game's polish and accessibility, making it a go-to choice for players seeking reliable and fun experiences this month. From quick fixes to intricate systems, this resource is your definitive companion for navigating the world of Roblox spawn scripts.
What are the best practices for optimizing Roblox spawn scripts for performance?
Optimizing Roblox spawn scripts for performance is crucial for busy gamers who value smooth gameplay. Focus on efficiency by using local variables for frequent references, minimizing expensive operations like iterating through large tables or using `GetChildren()` repeatedly, and performing complex calculations only when necessary. Avoid constant loops for checking spawn conditions if event-driven logic can be used instead. For instance, rather than a `while true do` loop checking player positions, use `PlayerAdded` and `CharacterAdded` events. Keep your scripts organized and modular, separating different spawn functionalities into distinct modules. Remember, every script contributes to server load, so a lean, efficient spawn script ensures your game runs smoothly, providing a better experience for players on various devices, from mobile to high-end PCs.
How do I set up team-specific spawn points in Roblox Studio?
Setting up team-specific spawn points in Roblox Studio is straightforward and essential for many game types. First, ensure you have teams configured under the `Teams` service in the Explorer. Create multiple `SpawnLocation` parts in your Workspace. For each `SpawnLocation`, select it and go to its Properties window. Locate the `TeamColor` property and choose a color that matches one of your established teams. If you want this spawn point to be *exclusive* to that team, set the `Neutral` property to `false`. Players on other teams will not be able to spawn here. This system guarantees players always start with their team, streamlining gameplay and reducing setup confusion, which is perfect for players who want to jump into cooperative or competitive action without delay.
Why are my players not spawning correctly in my Roblox game?
Player spawning issues in Roblox can stem from several common problems that often trip up creators. First, check if your `SpawnLocation` parts are actually anchored and not intersecting with other solid objects like terrain or parts; players can get stuck. Ensure the `CanCollide` property of your `SpawnLocation` is set to `false` to prevent collision issues. If you're using team spawns, verify that the `TeamColor` property of the `SpawnLocation` matches the `TeamColor` of the team the player is assigned to, and that `Neutral` is correctly set. Sometimes, custom scripts interfering with default spawn behavior can cause problems; temporarily disable custom spawn scripts to isolate the issue. Regularly testing your game after making changes will help identify and fix these common pain points quickly, ensuring a consistent and enjoyable start for every player.
Can I create custom forcefields for players spawning on Roblox?
Yes, creating custom forcefields for players spawning in Roblox is a popular way to prevent spawn camping and ensure a fair start. The default `SpawnLocation` provides a basic forcefield when a player spawns on it, which lasts for a few seconds. However, for more control, you can implement your own forcefield script. This usually involves creating a transparent, non-collidable part around the player's HumanoidRootPart when they `CharacterAdded`, and then deleting it after a set duration. You can also modify the player's `ForceField` object directly if it exists. A server script placed in `ServerScriptService` listening for `game.Players.PlayerAdded` and `player.CharacterAdded` events is the ideal place to manage this, granting temporary invincibility. This adds a layer of polish and fairness that busy gamers appreciate, allowing them to orient themselves before engaging in combat.
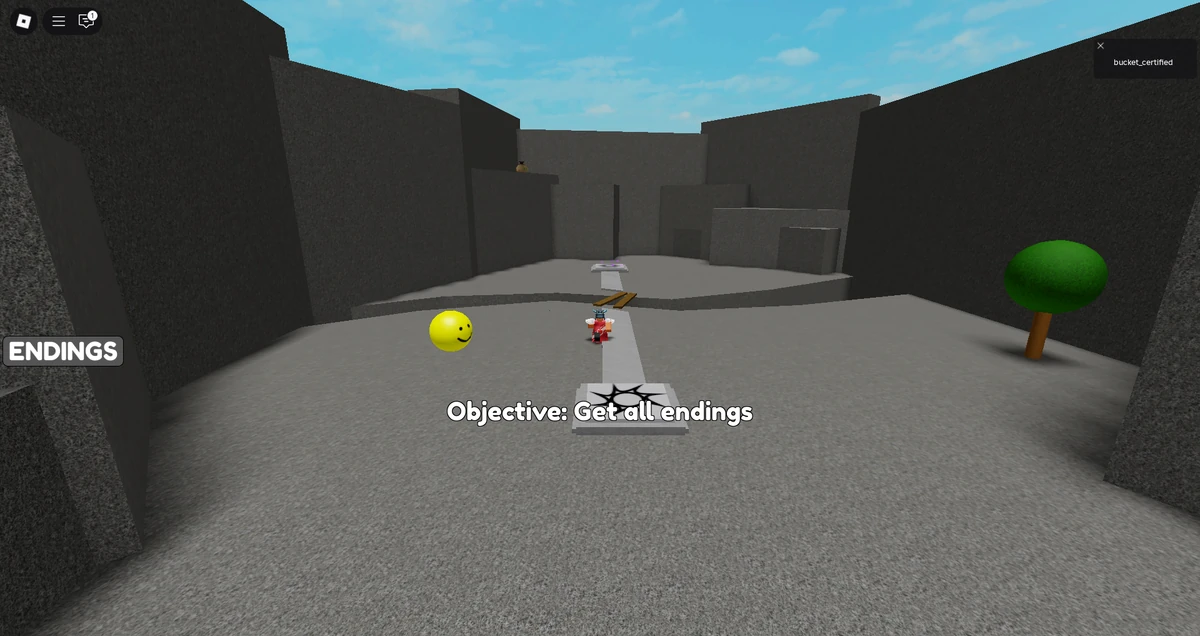
How do I randomize player spawn locations on game entry in Roblox?
Randomizing player spawn locations on game entry in Roblox is an effective way to prevent spawn camping and add variety to your game. The simplest method involves creating multiple `SpawnLocation` objects at different points in your map. By default, Roblox will attempt to distribute players across all `Neutral` spawn points. For more explicit control, you can create a folder in your Workspace (e.g., named 'RandomSpawns') and place several invisible `Part` objects inside it, marking your desired spawn positions. Then, in a server script (e.g., in `ServerScriptService`), you can listen for `PlayerAdded` and `CharacterAdded` events. When a character spawns, select a random `Part` from your 'RandomSpawns' folder using `math.random` and teleport the player's character to that part's CFrame. This ensures players are spread out efficiently, providing a fresh start with each game session, which resonates well with gamers seeking dynamic and less predictable experiences.
What's the difference between a SpawnLocation and a regular Part for spawning?
The key difference between a `SpawnLocation` object and a regular `Part` when it comes to spawning in Roblox lies in their built-in functionalities. A `SpawnLocation` is a specialized object designed specifically for player spawning. It automatically provides a temporary forcefield to newly spawned characters, prevents players from spawning on top of each other if multiple are present, and has properties like `TeamColor` and `Neutral` for easy team-specific spawning. A regular `Part`, on the other hand, is a generic geometric object. While you can certainly write a script to teleport a player to a regular `Part`'s position, you'd have to manually script all the additional features like forcefields, team filtering, and spawn-point distribution that a `SpawnLocation` offers by default. For most basic and advanced spawning needs, leveraging `SpawnLocation` simplifies development and ensures robust behavior, saving valuable time for busy creators.
How do you despawn and respawn players using scripts in Roblox?
Despawning and respawning players in Roblox using scripts is fundamental for managing game flow, especially after a player is eliminated or when transitioning between game states. To force a player to despawn, you typically just need to destroy their character model. The `Player.Character` property refers to the player's current character. Setting `Player.Character = nil` or directly calling `player.Character:Destroy()` will remove their character from the game. Roblox's default behavior will then automatically respawn the player after a short delay (usually 5 seconds) at an available spawn point, creating a new `Character` model for them. If you need to force an immediate respawn without waiting, you can use `player:LoadCharacter()`. This will destroy their current character and immediately load a new one. This powerful scripting ability allows for custom death mechanics, quick resets, and sophisticated game management, giving developers full control over the player life cycle.
Hey fellow gamers and creators! Ever jumped into a Roblox game, only to spawn awkwardly in the sky, inside a wall, or miles away from the action? It’s a classic frustration for many of us, especially when our precious gaming time is limited between work and family. We value smooth experiences that let us dive right into the fun, build skills, or relax with friends. That’s where the power of well-implemented Roblox spawn scripts comes in. For developers, getting spawns right is crucial for player retention; for players, it means a hassle-free entry into your favorite virtual worlds.
As busy adults, we don't have time for clunky game mechanics. We want performance optimization and value for our time. Recent US gaming stats show that roughly 87% of gamers play regularly, often dedicating 10+ hours a week, with mobile gaming still dominating and social experiences being a huge draw. A smooth spawn system supports these trends, encouraging social play and minimizing setup issues. This guide is designed to cut through the hype and give you practical, actionable insights into mastering Roblox spawn scripts, ensuring your game is always ready for prime time.
What are Roblox Spawn Scripts and Why Are They Essential?
Roblox spawn scripts are lines of code that dictate where players appear when they first join your game or when they respawn after being eliminated. They're not just about dropping a player onto a brick; they control the initial player experience, influence game balance, and can dramatically impact a game's overall quality. Think of them as the digital welcome mat for your game world. Without them, players might land in random, unplayable locations, leading to immediate frustration and a quick exit. A well-configured spawn system ensures players are always placed strategically, whether it’s at a safe hub, near a team base, or at a specific event start point. This is vital for maintaining engagement, especially for gamers who balance multiple responsibilities and just want to enjoy their limited playtime without hiccups.
How Do You Create a Basic Spawn Point in Roblox Studio?
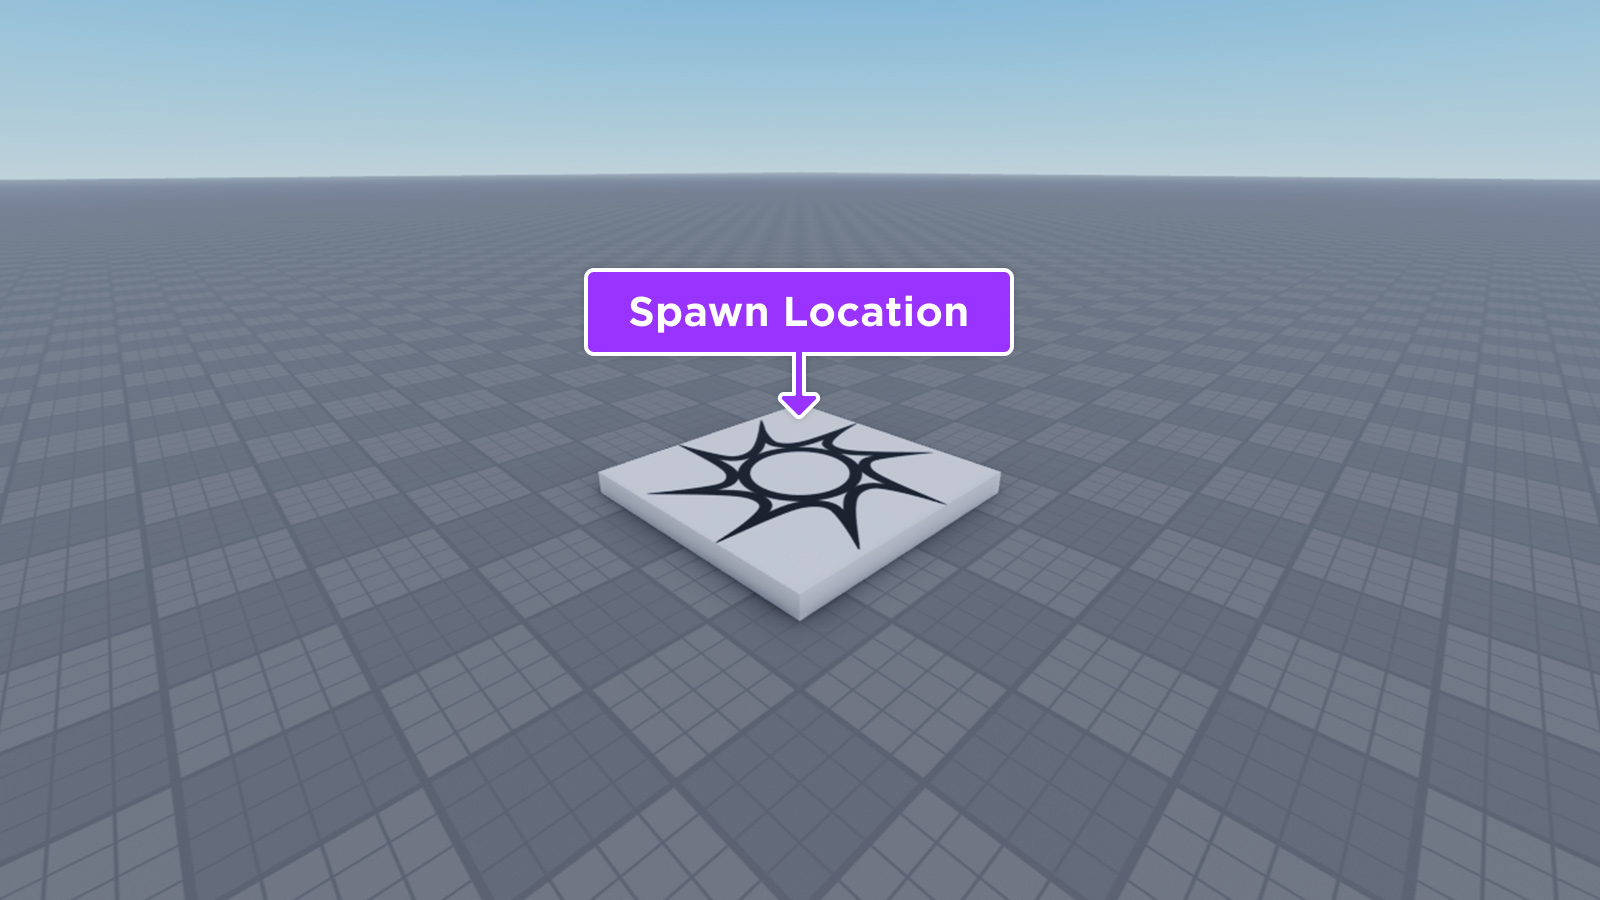
Creating a basic spawn point is straightforward, even if you're new to Roblox Studio. The simplest method involves using the built-in SpawnLocation object. Here's a quick run-down:
- Open Roblox Studio and load your game.
- Navigate to the 'Model' tab in the ribbon bar.
- Click the 'Spawn' button. A 'SpawnLocation' object will appear in your workspace.
- Position the SpawnLocation wherever you want players to appear. You can use the 'Move' and 'Rotate' tools for precise placement.
- Ensure the 'CanCollide' property is set to 'false' so players don't get stuck, and 'Anchored' is 'true' so it doesn't fall.
- Test your game! You should now spawn at this location.
This fundamental step is often overlooked but is the bedrock of a good player experience. It addresses a common setup pain point directly, providing a clear path to getting players into the action immediately.
Can You Customize Spawn Points for Specific Teams or Roles?
Absolutely! Customizing spawn points for teams or specific roles is a common need, especially in games with competitive or cooperative elements. Roblox Studio makes this relatively easy. Each SpawnLocation object has a 'TeamColor' property. To assign a spawn point to a specific team:
- Select your 'SpawnLocation' in the Workspace.
- In the Properties window, find the 'TeamColor' property.
- Click the color box and choose the desired color that matches your team's color.
- Optionally, set 'Neutral' to 'false' if this spawn is *only* for the specified team.
For role-based spawns, you might need a simple script that checks a player's role (e.g., from a leaderstat or data store) and teleports them to a specific custom spawn location upon joining. This allows for nuanced gameplay, like having healers spawn near the front lines or builders near resources, optimizing performance for varied playstyles and catering to the diverse interests of US gamers who enjoy both competitive and creative experiences.
How Do You Implement Multiple Spawn Points for Load Balancing?
Implementing multiple spawn points is crucial for larger games or those expecting many players, preventing congestion and ensuring a smooth start for everyone. Roblox automatically handles load balancing among multiple 'Neutral' spawn locations by default, spreading players out. However, for more control, you can use a script to manage where players spawn.
A common method involves creating several 'SpawnLocation' objects and placing them at various points. Then, you can use a server script in 'ServerScriptService' to select a spawn point. For example, you could:
- Create a folder named 'SpawnPoints' in the Workspace.
- Place multiple 'SpawnLocation' objects inside this folder.
- Write a script that, when a player joins, picks a random spawn point from the folder and teleports the player there.
game.Players.PlayerAdded:Connect(function(player) player.CharacterAdded:Connect(function(character) local spawnPoints = workspace.SpawnPoints:GetChildren() if #spawnPoints > 0 then local randomIndex = math.random(1, #spawnPoints) local chosenSpawn = spawnPoints[randomIndex] character:SetPrimaryPartCFrame(chosenSpawn.CFrame) end end)end)This simple script provides better distribution, reducing the likelihood of players spawning on top of each other, which is a major performance and immersion booster for any gamer.
What Are Common Pitfalls When Working with Roblox Spawn Scripts?
Even experienced creators can hit roadblocks with spawn scripts. Some common pain points include:
- Spawns in undesirable locations: Players appearing inside terrain, objects, or outside the map. Always test your spawns thoroughly.
- Inconsistent spawning: Players not always landing on the intended spawn point, often due to overlapping SpawnLocations or incorrect team assignments.
- Performance issues: Too many complex spawn scripts running on a server can cause lag, especially if they involve heavy calculations or frequent database lookups. Keep scripts lean.
- No anti-griefing measures: Allowing players to repeatedly kill others right after they spawn can ruin the experience. Implement a temporary forcefield or invincibility.
- Team spawn conflicts: When 'Neutral' is true for a team spawn, or if teams aren't configured correctly, players might not spawn with their designated group.
Addressing these issues early saves countless hours of troubleshooting and significantly improves the player experience, aligning with what modern US gamers expect: a polished, fair, and fun environment.
How Can You Create Dynamic Spawn Systems for Advanced Gameplay?
Dynamic spawn systems take your game to the next level, responding to in-game events or player choices. Imagine a battle royale where the safe zone shrinks, and spawns adjust to new areas, or a horror game where respawns occur in different, unsettling locations each time. Implementing this requires more sophisticated scripting:
- Event-triggered spawns: Use `RemoteEvents` or `BindableEvents` to trigger changes to spawn locations based on game state (e.g., a new round starting, an objective being captured).
- Player-choice spawns: Allow players to select their spawn point from a UI. A client script sends this choice to the server, which then teleports the player's character.
- Proximity-based spawns: Have a script detect where action is happening and dynamically place new spawns nearby, or move existing spawns away from danger. This involves checking player positions or specific object locations.
-- Example concept for dynamic spawn location based on a game state signalgame.ReplicatedStorage.GamePhaseChanged.OnServerEvent:Connect(function(newPhase) if newPhase == Mastering Roblox spawn scripts; Player spawn optimization; Team spawn management; Dynamic spawn implementation; Troubleshooting spawn issues; Enhancing game flow; Scripting best practices for Roblox.
35#1 Gallery roblox spawn scripts
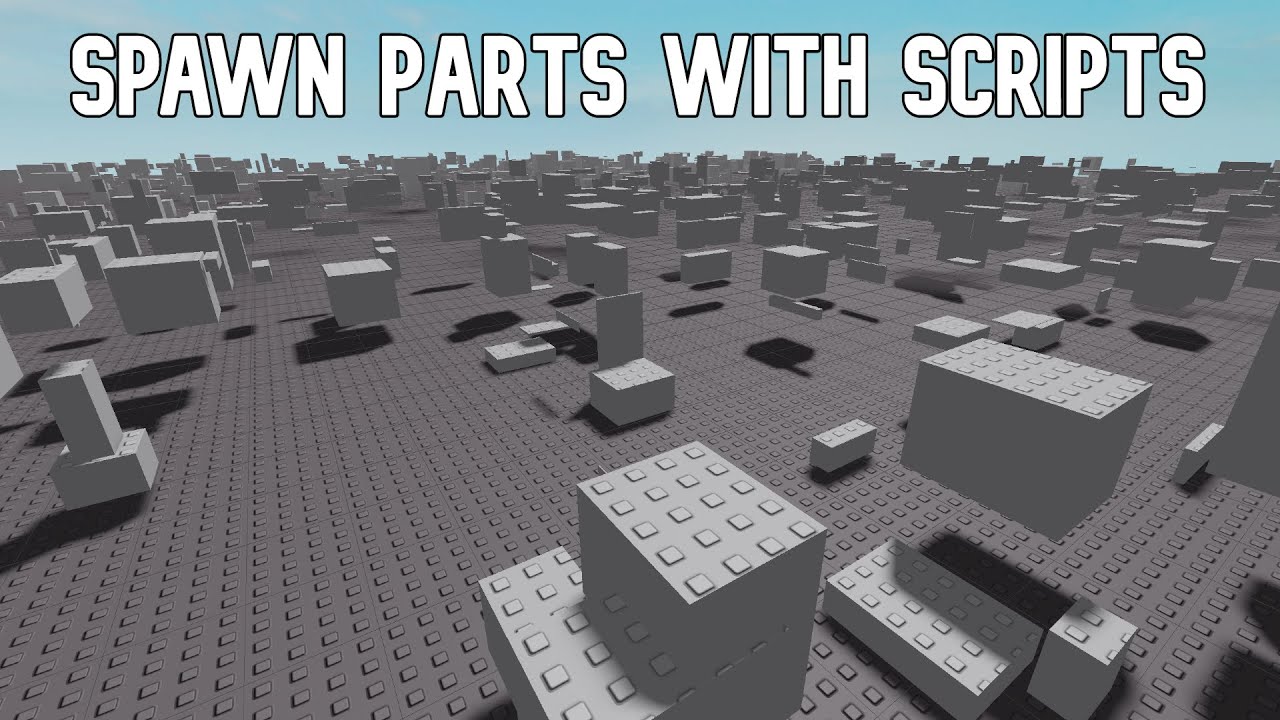
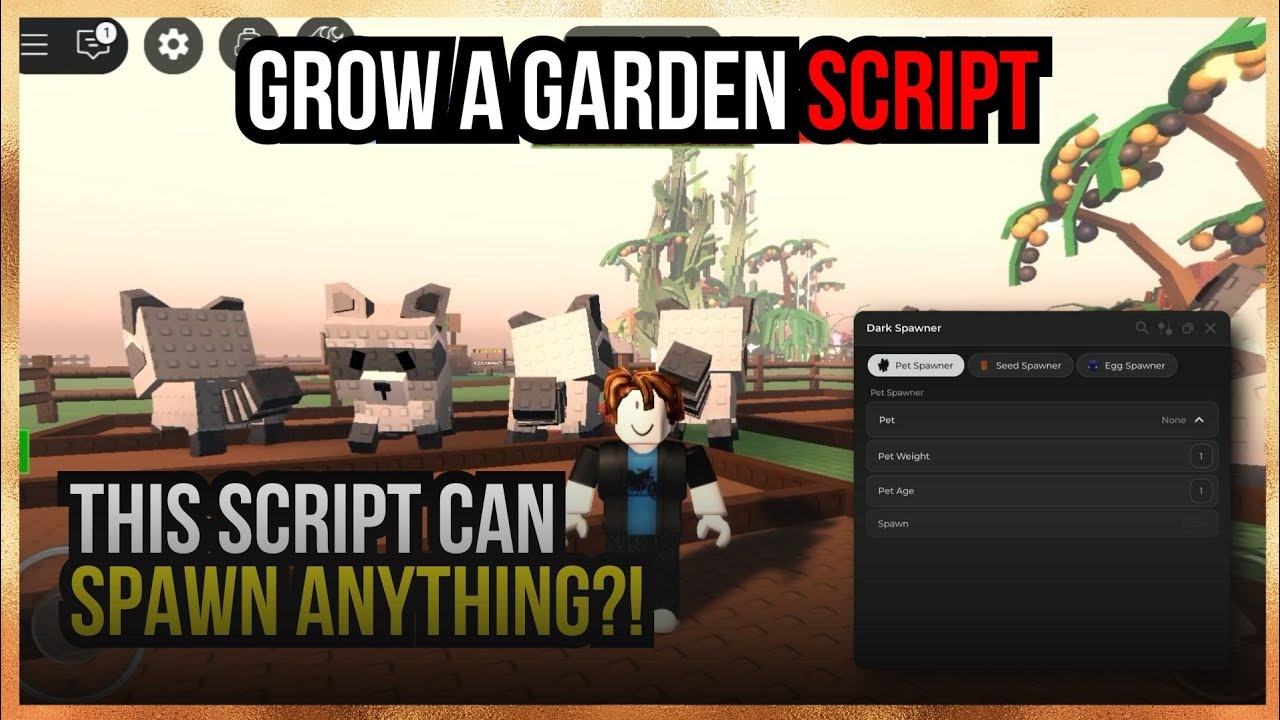


How To Spawn Parts With Scripts Roblox Studio Tutorial YouTube . USE THIS SCRIPT TO SPAWN ANYTHING Roblox Grow A Garden Script . How To SPAWN OG BRAINROTS In Steal A Brainrot REAL SPAWNER SCRIPT . Contoh Roblox Scripts 2026 Panduan Lengkap Untuk Pemula Jurnal Ngawi 3789630207 . Universal Script Project Broken Spawn Update Roblox Scripts 0
#2 Gallery roblox spawn scripts


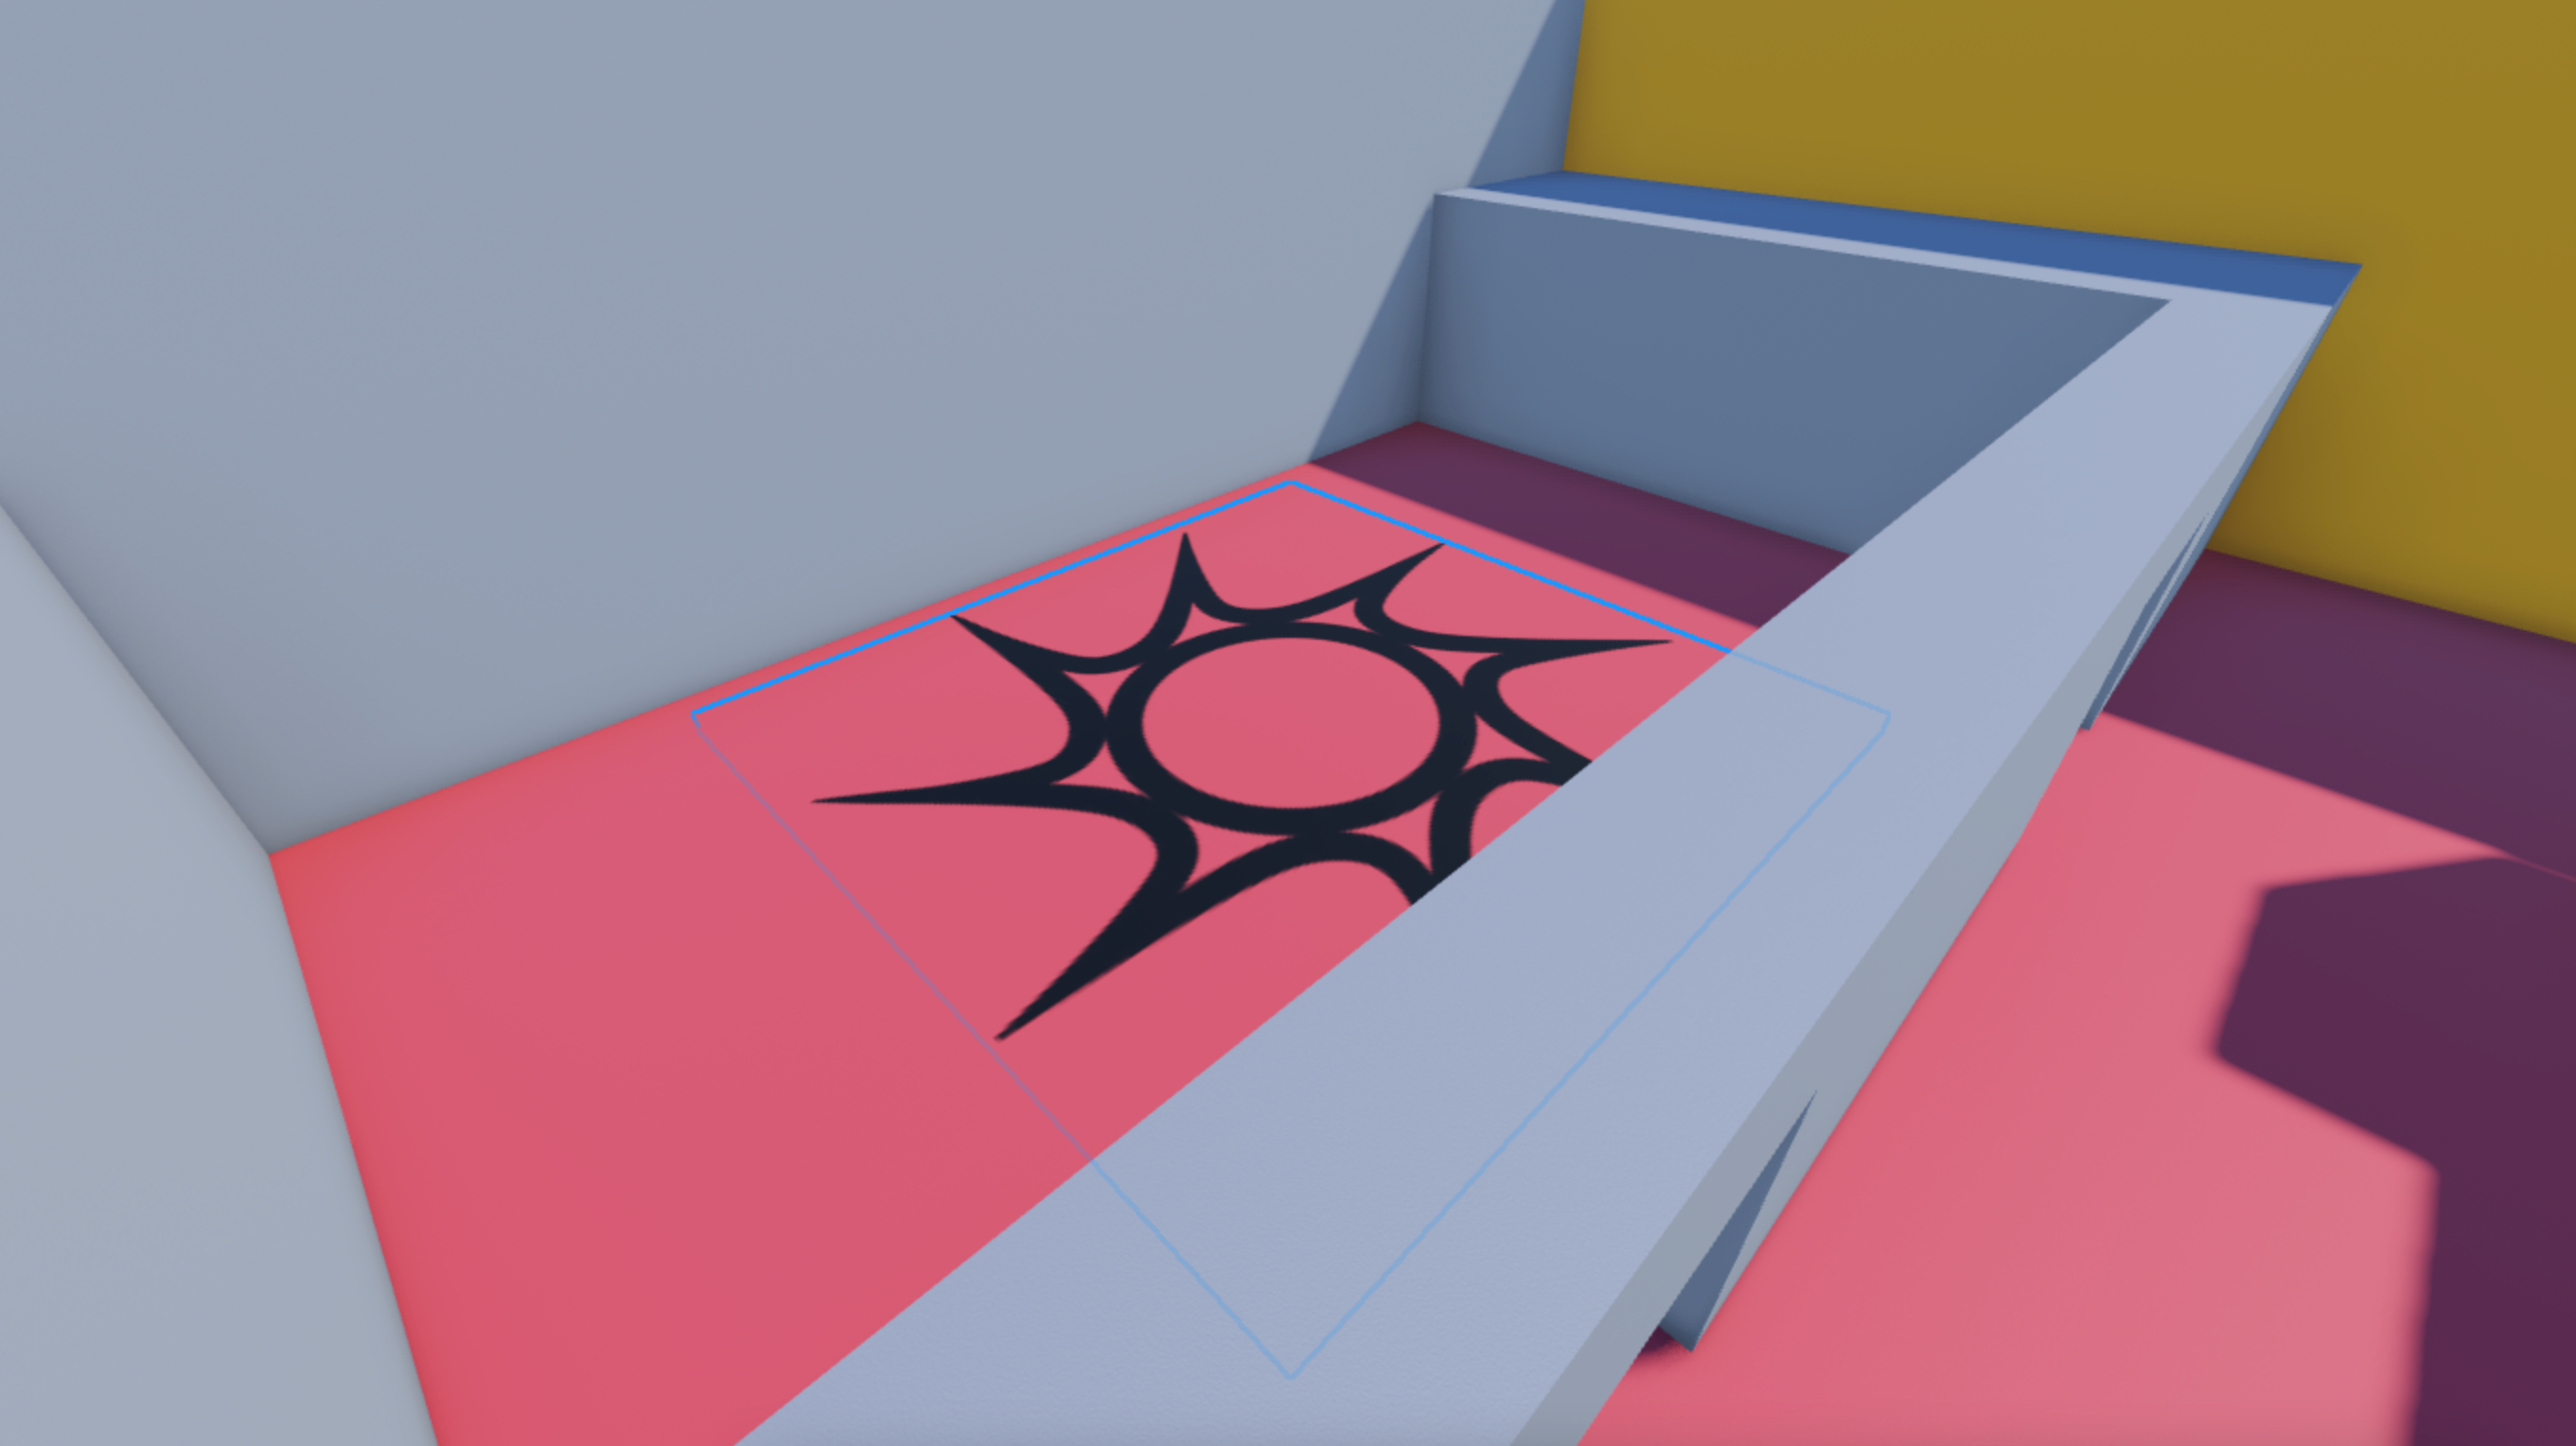
CLONE And SPAWN OBJECTS Roblox Studio Scripting YouTube . How To SPAWN SECRETS In STEAL A BRAINROT Spawner Script ROBLOX YouTube Hqdefault . NEW BEST ADOPT ME PET SPAWNER SCRIPT SPAWN ANY PETS ROBLOX . 2026 Roblox Studio Models Guide What To Use Avoid And Why It Matters O . A Better Way For Random Spawns Scripting Support Developer Forum 2 1033x528
#3 Gallery roblox spawn scripts


Help With My Zombie Spawn Script Scripting Support Developer Forum . How To Randomly Spawn A Model Scripting Support Developer Forum 2 690x388 . BEST OPEN SOURCE ROBLOX EXECUTORS 2026 Technical Analysis Free Roblox Script . Spawn Custom Character In Roblox Studio 2026 UPDATED YouTube . How To Script E To Spawn Part Roblox Studio YouTube Hqdefault
#4 Gallery roblox spawn scripts


10 Best Roblox Steal A Brainrot Scripts February 2026 No Key Escape Tsunami For Brainrots Spawn Machine Guide 1 . 3 OP The Battle Bricks Scripts Auto Spawn Spam All Slots Auto Replay 3 OP The Battle Bricks Scripts Auto Spawn Spam All Slots Auto Replay 1024x539 . NO KEY BLADE BALL SCRIPTS AUTO PARRY AUTO SPAM 2026 Fyp Roblox Blad Img. HOW TO MAKE A SPAWN POINT 2025 ROBLOX STUDIO TUTORIAL WORKING YouTube . Make Player Spawn Other Places Scripting Support Developer Forum
#5 Gallery roblox spawn scripts


Best Free Roblox Assets In 2026 For Game Developers O . Task Spawn Task Spawning Roblox Scripting Tutorial YouTube . FULL TUTORIAL ON HOW TO USE Dark Spawner Script Grow A Garden Pet . Spawn Area Easiest Game On Roblox Wiki Fandom 1200. To Roblox Studio Roblox Creator New Template With Spawn Location
#6 Gallery roblox spawn scripts


Roblox Task Spawn Your Ultimate Guide Spawnadded . How Do I Spawn In Another Player To Test My Scripts In Studio . Decoding The Roblox Spawn Point Logo A Gamers Guide TeamBSpawn . Prison Life Roblox Script Inf Ammo Teleport Fly ESP January 2026 Steal A Brainrot Script . Spawn Roblox
#7 Gallery roblox spawn scripts


A Better Way For Random Spawns Scripting Support Developer Forum 2 1024x428 . ROBLOX Scripting Vehicle Car Model Spawner Tool Spawn Any Model . NEW How To Use Roblox Scripts TUTORIAL YouTube . How To Make A Spawn Item Command In Roblox Roblox Studio Scripting Hqdefault . Roblox IDLE Scripts 2026 Prospecting Script